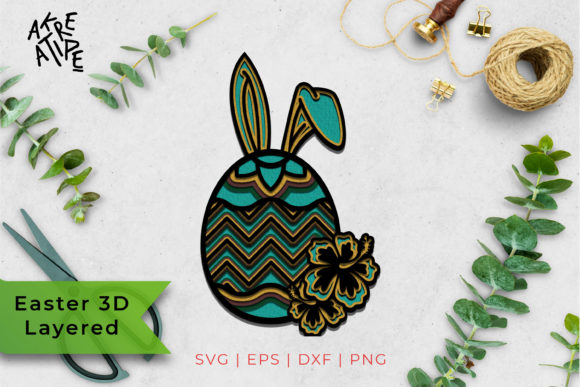
3D Layered Easter
3D Layered Easter isn’t just another craft trend—it’s a tactile, dimensional way to bring Easter themes to life through precision-cut paper, vinyl, or digital design files. Whether you’re designing greeting cards, decorating classrooms, launching an Etsy shop, or creating social media visuals, 3D layered elements add depth, visual interest, and professional polish. Unlike flat printables, these designs rely on intentional spacing between layers—often achieved with foam tape, adhesive spacers, or digital Z-depth settings—to create realistic shadow and perspective. That subtle pop makes all the difference in engagement, especially for audiences scrolling quickly or viewing content on mobile.
Assuming “Layered” Means “Plug-and-Play”
Many beginners assume that downloading a “3D Layered Easter” file guarantees instant results—just cut, stack, and go. In reality, layer count alone doesn’t ensure dimensionality. A file labeled “5-layer Easter basket” might have all layers aligned on the same plane digitally, requiring manual adjustment before cutting. Without proper offsetting (even 1–2 mm between layers), the final piece reads as flat—not 3D. This misalignment leads to wasted material, rework, and frustration during assembly.
Before downloading or purchasing, check the product description for terms like pre-offset layers, Z-depth guidance, or cut-ready spacing. Better yet, preview the file in your design software: zoom in and verify whether layers are visibly staggered—not just color-coded. If you're using Cricut Design Space or Silhouette Studio, test a single element first by duplicating a layer, nudging it slightly up or down, and simulating the cut. That 30-second check saves hours later.
Overlooking Material Compatibility
Not all 3D Layered Easter designs work equally well across substrates. A delicate lamb silhouette with fine inner details may cut cleanly in 65-lb cardstock—but buckle, tear, or jam when attempted in glitter paper or thin balsa wood. Similarly, digital SVG files optimized for laser engraving often include hairline strokes or nested paths that confuse die-cut machines unless simplified first.
Ask yourself: What tool am I using—and what’s its real-world tolerance? Cricut Maker users can handle thicker materials thanks to the rotary blade; older Explore models need simpler paths and lighter stock. If you’re printing instead of cutting, confirm whether the file includes high-resolution PNGs with transparent backgrounds—not just low-DPI JPGs that pixelate at larger sizes. One small business owner discovered too late that her “3D Layered Easter” SVG bundle lacked shadow layers in CMYK mode, causing color shifts when sent to her local print shop. She now checks color profiles and requests PDF/X-1a previews before approving any job.
Misjudging Scale and Proportion
Because 3D Layered Easter elements rely on relative depth, scaling them uniformly—say, enlarging a whole file by 200%—can unintentionally collapse the illusion. Increase size without adjusting spacer thickness, and layers appear unnaturally compressed. Reduce size without simplifying detail, and tiny cuts vanish or fuse together during weeding.
A practical fix? Work from a known reference point. Start with one standard-sized element—a 4-inch Easter egg, for example—and adjust other layers proportionally *in relation to it*, not independently. Use your software’s group + resize function sparingly; instead, scale base layers first, then manually tweak top layers to preserve depth hierarchy. For physical builds, keep a set of calibrated foam dots (1mm, 2mm, 3mm) nearby—this helps maintain consistent spacing even when resizing across projects.
Ignoring Contextual Use Cases
What works beautifully on an Instagram carousel may fall flat in a classroom setting—or worse, pose safety concerns. Some 3D Layered Easter kits include ultra-thin wire accents or loose micro-beads meant for display-only pieces. These aren’t appropriate for preschool bulletin boards where children touch everything. Likewise, highly textured finishes (like embossed foil or flocking) look stunning in photos but reduce scannability if used in educational handouts or accessibility-focused materials.
Always match the design to its environment. Ask: Who interacts with this—and how? For educators, prioritize durability and simplicity over intricacy. For marketers, consider load time: a 15MB layered PNG won’t perform well in email campaigns. For creators selling digital downloads, include usage notes—e.g., “Recommended for decorative wall art, not wearables”—to manage expectations and reduce support requests.
Skipping the Test Cut—Every. Single. Time.
Even experienced makers sometimes skip the test cut—especially when rushing to meet a deadline. But material lot variations, blade wear, humidity, and software updates all affect how cleanly a 3D Layered Easter design cuts. A test run on scrap stock takes under two minutes and reveals issues like uncut interior shapes, jagged edges, or unintended layer fusion.
Make it routine: always cut one full element—preferably the most detailed one—before committing to your final material. Note the settings that worked (blade depth, pressure, speed, passes), and save them as a preset. Over time, you’ll build a personal library of reliable configurations for different stocks and designs—turning guesswork into repeatable accuracy.
Underestimating Assembly Workflow
The real efficiency win with 3D Layered Easter isn’t just in the design—it’s in how smoothly it assembles. Yet many users overlook alignment aids. Designs without registration marks, corner tabs, or numbered layers force trial-and-error stacking. That eats into creative time and increases the chance of misaligned shadows or crooked bunnies.
When evaluating a download or kit, scan for smart assembly features: numbered layers, matching icons (e.g., a carrot icon on both base and top layer), or guides that snap together digitally. If those aren’t included, add them yourself—use your design software to insert subtle, removable marks that disappear after cutting. One freelance designer saves 20+ minutes per project by pre-labeling her SVG layers with alpha-numeric codes (“B-01”, “M-02”) and keeping a quick-reference key in her project folder.
3D Layered Easter thrives when intention meets execution. It’s not about complexity—it’s about thoughtful layering, compatible tools, realistic expectations, and small habits that compound into confident, consistent results. Whether you're building a seasonal brand, teaching a craft class, or simply wanting to make something joyful and memorable, start with clarity—not just cut lines.